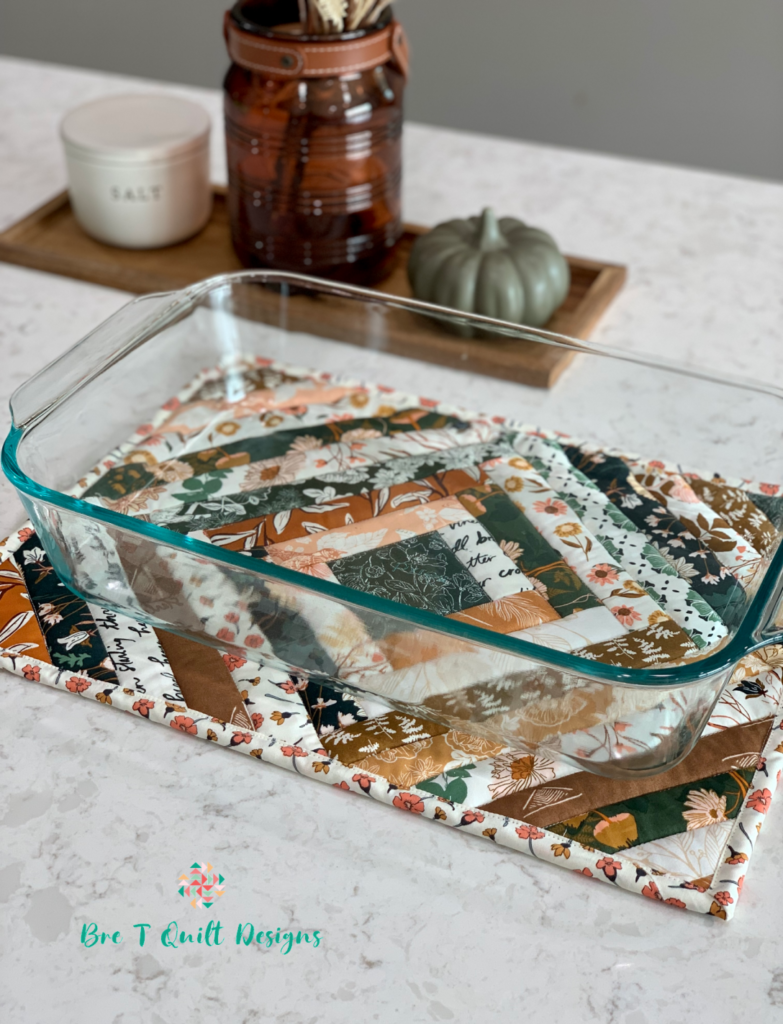
How to Make a Scrap Quilt from Any Pattern
If I had a dollar for every time someone asked me “can I make this with scraps?” I’d have a very well-funded fabric budget. And the answer, almost every single time, is yes. You just need to know how to read a pattern a little differently to figure out how to make a scrap quilt from any pattern.
Scrap quilts are some of my absolute favorites to make. There’s something about pulling from a bin of leftover scraps — little pieces of projects past — that makes the finished quilt feel extra special. They’re also a great way to keep your stash under control. Or at least that’s what I tell myself.
So let’s talk about how to take any pattern you love and figure it out for scraps, from the quilt top all the way to the backing and binding.
Start with the cutting list, not the yardage
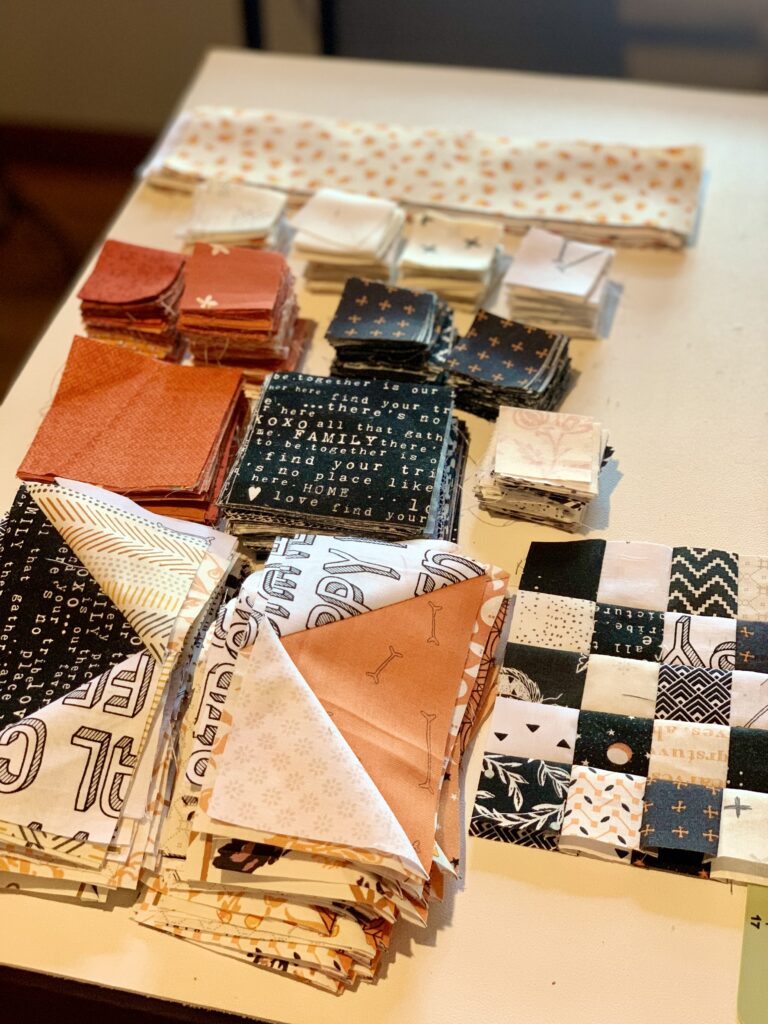
The first thing to do is open your pattern and shift how you’re reading the cutting requirements. Instead of thinking “I need two yards of Fabric A,” think “I need this many pieces in this size.” That reframe changes everything. You’re no longer shopping for yardage — you’re shopping your scrap bin for individual pieces.
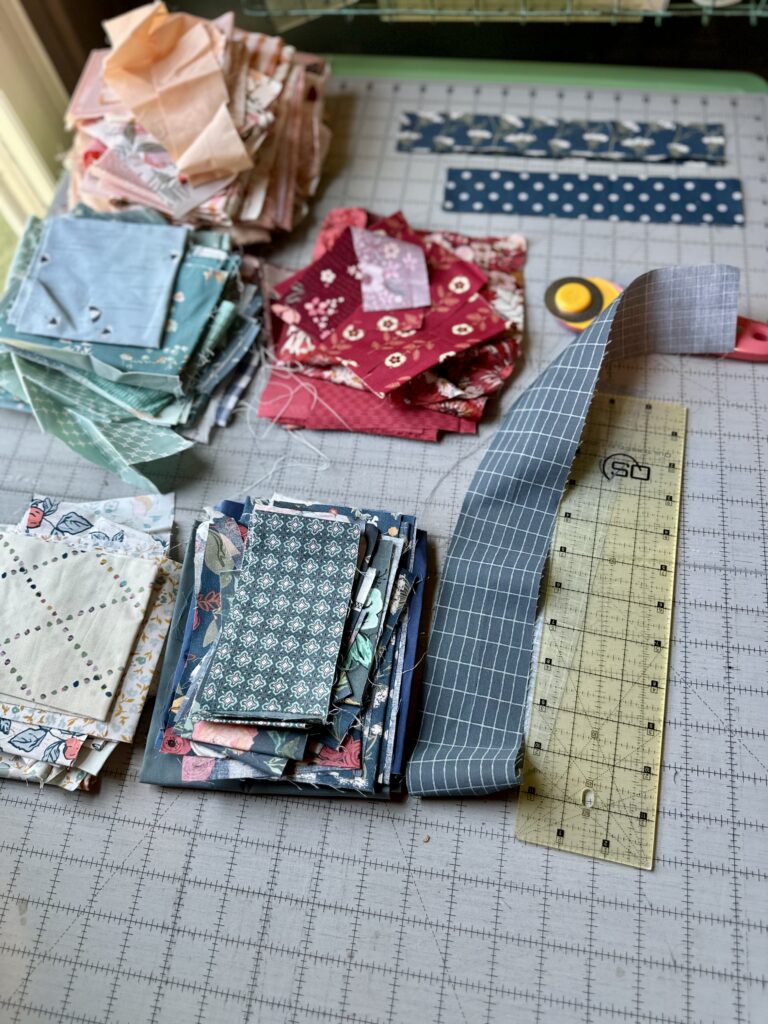
Go through the cutting list and make a simple note of every piece size you need and how many of each. It may require a bit of simple math. That becomes your pull list. Work through your scraps and start setting aside anything that fits.
Sort by value, not color
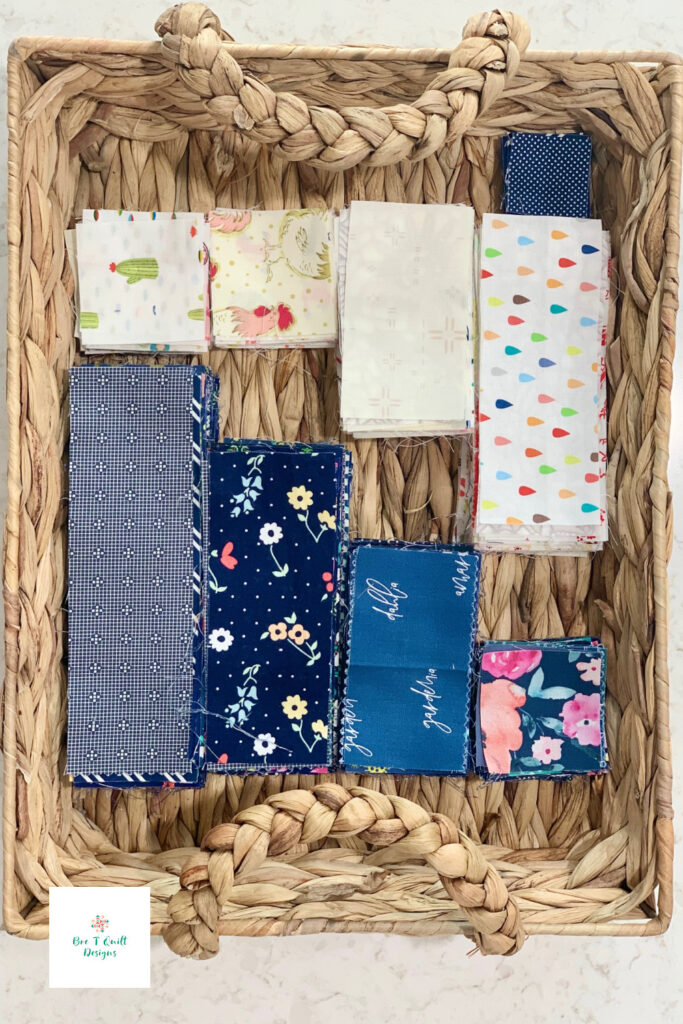
Even though it’s a scrap quilt, you still want to decide on a color theme and pull from those colors.
Sort your scraps into piles: lights, darks, and mediums if your pattern calls for it. Then pull from those piles the way you’d pull from a cut of yardage. As long as the value contrast is there, the colors can be all over the map and it’s going to look intentional.
Know your minimum piece size
Before you get too deep into pulling fabrics, find the largest single piece your pattern requires. That’s your minimum scrap size. If the pattern calls for 6-inch squares, any scrap bigger than 6 inches is usable. Anything smaller gets set aside for another project — or for a truly scrappy improv quilt down the road.
This step saves you a lot of frustration. Nothing worse than falling in love with a scrap only to realize it’s half an inch too small.
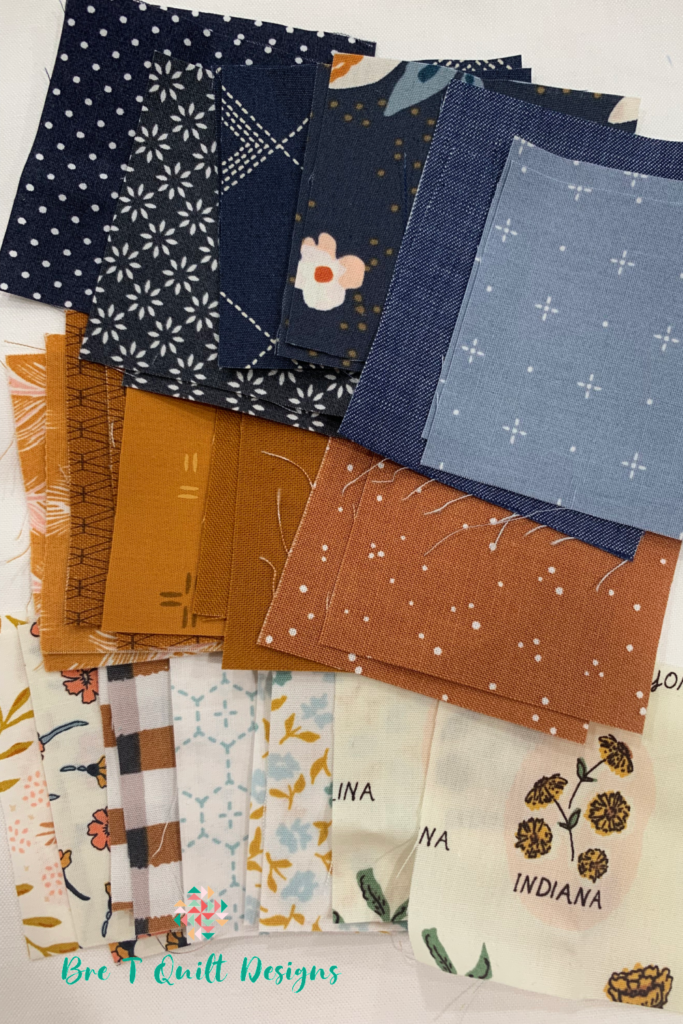
Decide how scrappy you want to go
There’s a whole spectrum of scrappy and none of it is wrong. On one end, every single piece is a different fabric — true scrappy chaos, and it is absolutely glorious when it comes together. On the other end, you might pull your favorite colors from the scrap bin for the patchwork pieces but purchase or use a single yardage cut for a solid background. That little bit of consistency can really anchor everything without losing that scrappy feeling.
The key is deciding before you start pulling fabrics so you have a clear vision to work toward. Both approaches make beautiful quilts — it just depends on the look you’re going for and what your scrap bin has to offer.
Go all the way scrappy with the backing
Here’s where I like to challenge myself to take things the full distance. Why stop at the quilt top when you can make the whole thing from scraps?
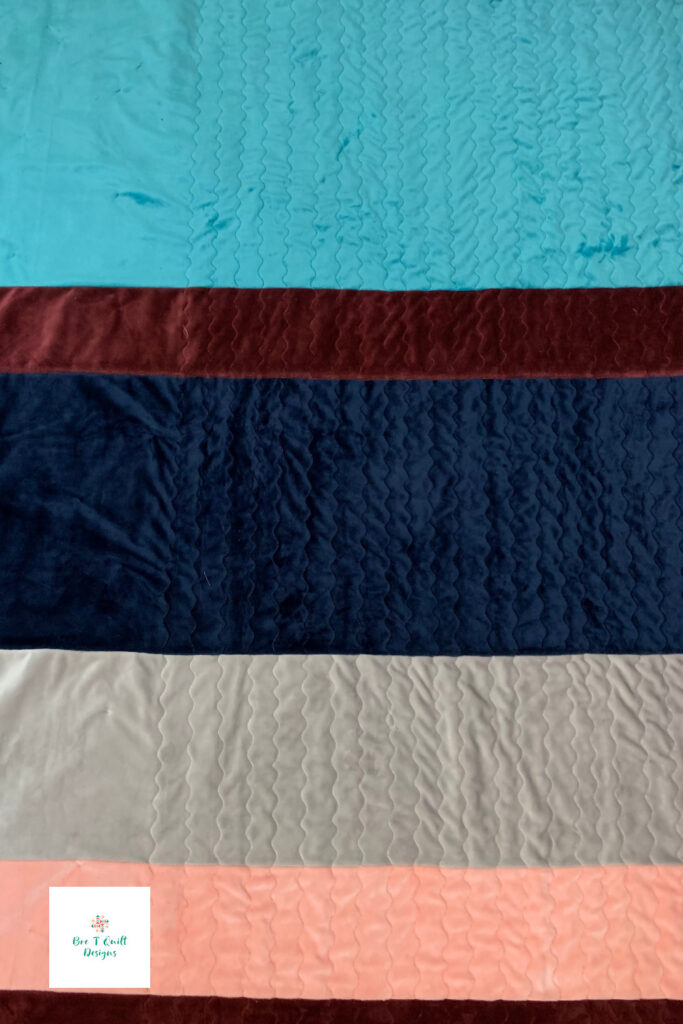
For backing, I piece together leftover lengths of minky from other projects, or a few pieces of yardage I’ve been meaning to use up. It doesn’t have to be perfectly planned or matchy-matchy — it just needs to be big enough. A simple two or three panel pieced backing using up odds and ends is one of the most satisfying things to make, because you’re truly sending those fabrics out the door on a finished quilt.
And if you really want to commit to the scrappy life, piece your binding too. Sew together leftover binding strips from past projects, trim them to a consistent width, and join them just like you would a regular binding. It adds one more layer of personality to the finished quilt and uses up those little strips that otherwise just sit in a bag indefinitely. Ask me how I know.
Don’t overthink it — just start
This is the most important tip I can give you, and I mean it sincerely. Just start. Scrap quilts have a funny way of feeling completely chaotic in the middle — like nothing is going together and you’re not sure what you were thinking. You’ll second-guess your fabric pulls. You’ll wonder if it’s too busy or not cohesive enough.
Keep going anyway. At the end, it almost always comes together in the best way. That’s just the nature of a scrap quilt, and it’s honestly one of the things I love most about them. The process teaches you to trust your eye and let go of the need for everything to be perfectly coordinated. There’s a freedom in it that you don’t get from a more controlled project.
Scrappy versions of my own patterns
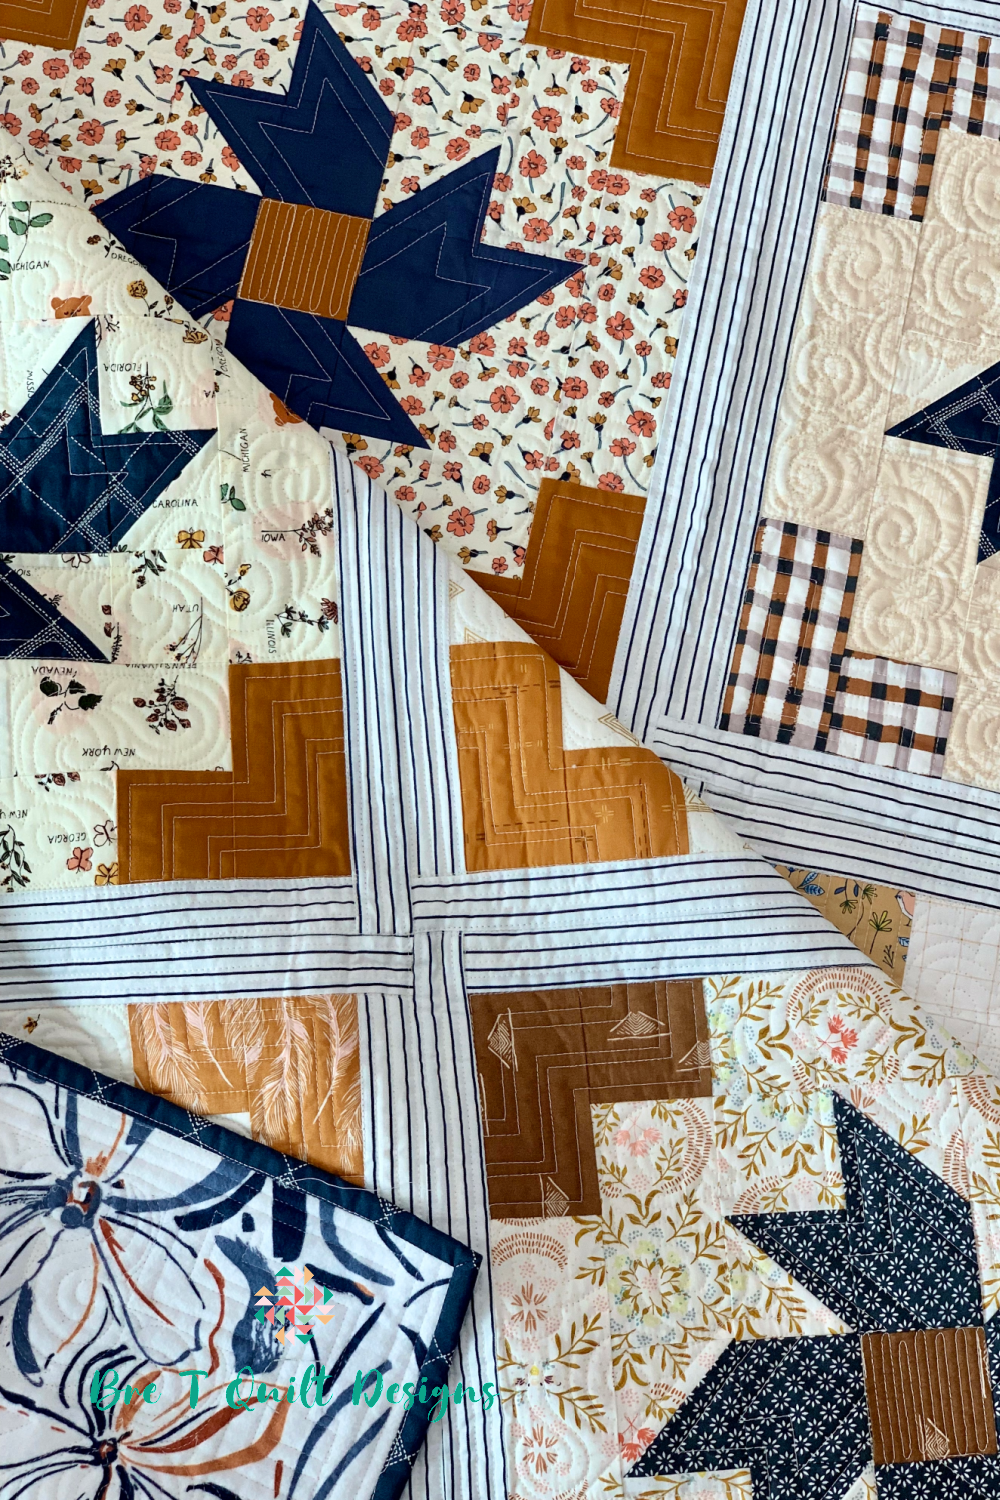
Want to see what all of this looks like in real life? Here are a few of my own patterns that I’ve made scrappy — and they’re some of my favorites in my whole portfolio.
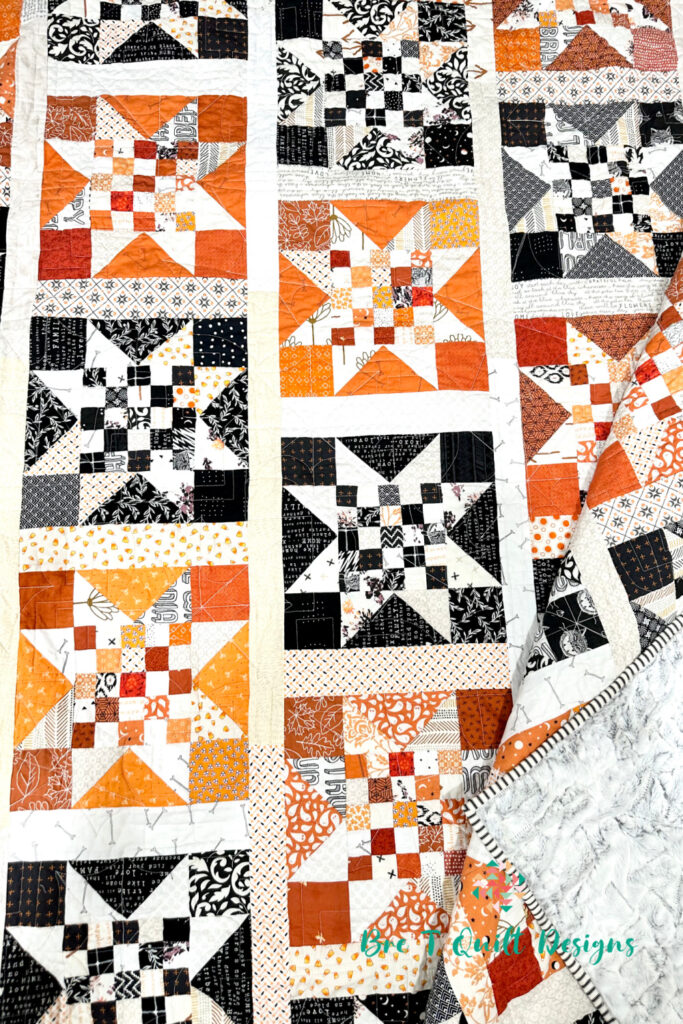
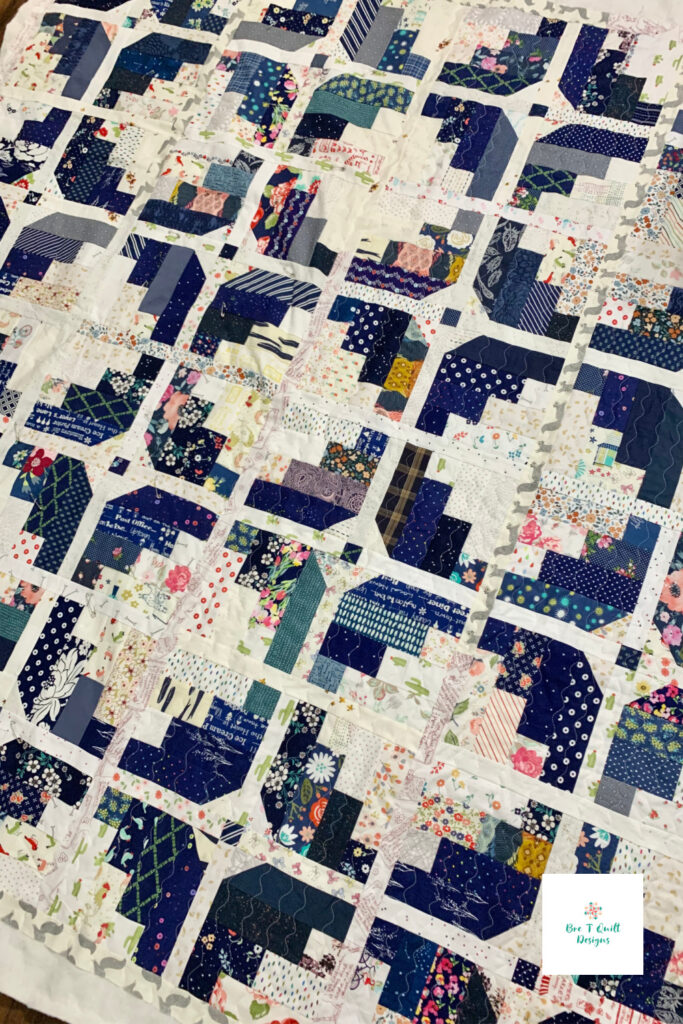
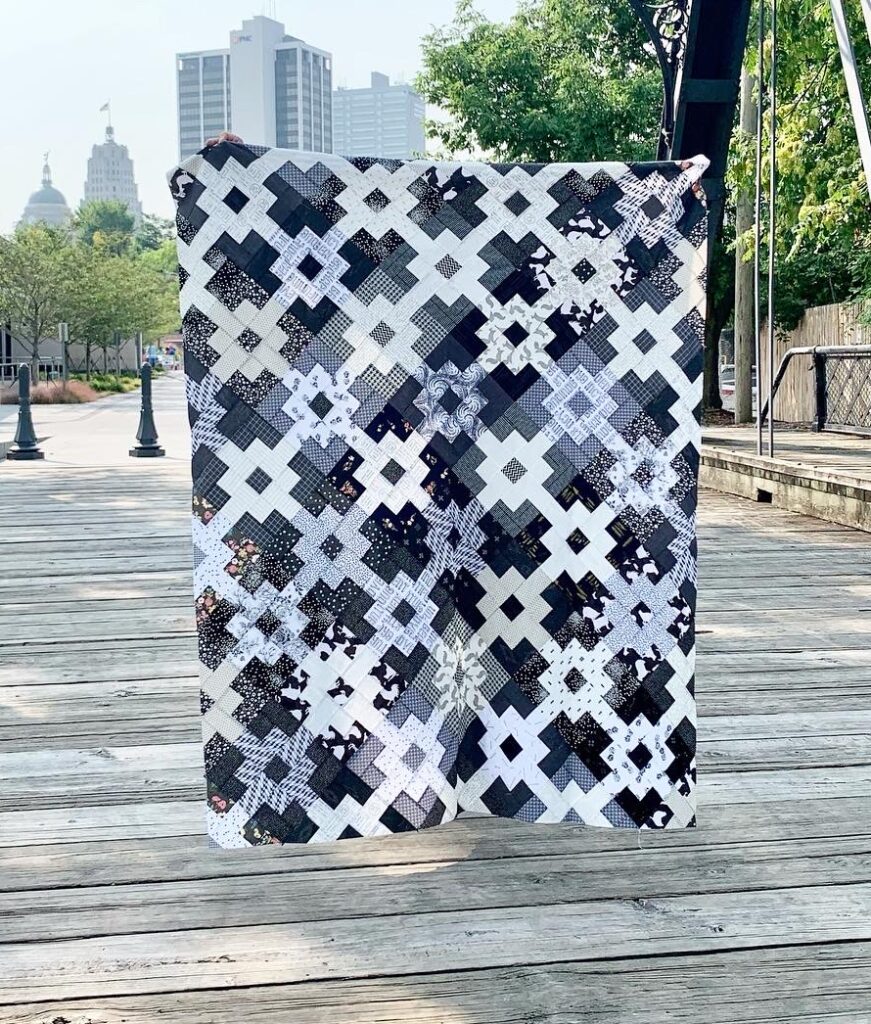
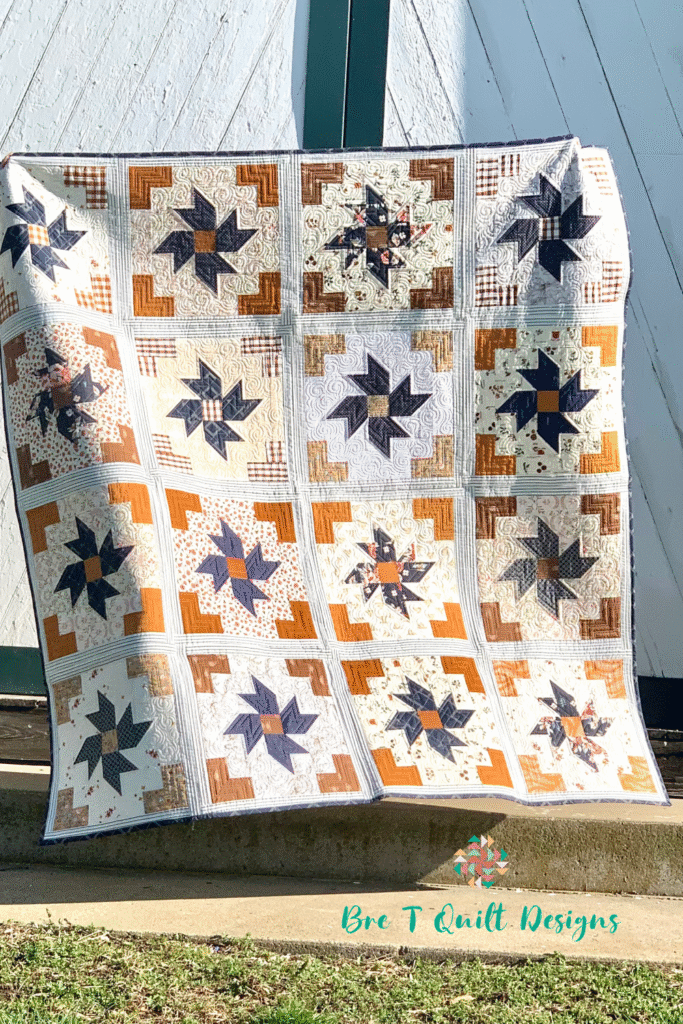
Every single one of these started as a scrap bin dig. And every single one of them is a quilt I reach for when I want something that feels personal and lived-in.
Ready to raid your scrap bin?
The next time you fall in love with a pattern, don’t let a thin yardage budget talk you out of it. Dig into your scraps, sort by value, know your minimum piece size, and just start pulling. You might end up with your new favorite quilt.
Looking for more Scappy projects?
Try out these free patterns!