How To Make A Scrap Quilt For Beginners
How to Turn Fabric Scraps into a Beautiful Scrap Quilt
Do you have a growing pile of fabric remnants, offcuts, and odd-sized pieces taking over your sewing space? Don’t toss them! Those scraps are a hidden treasure trove waiting to be transformed into a cozy, unique, and meaningful scrap quilt.
Scrappy quilting is one of the most satisfying ways to sew. It’s not just about using up materials; it’s about creating a colorful, vibrant snapshot of your past projects. Here is your step-by-step guide to turning those scraps into a stunning piece of textile art.
Step 1: Preparation and Organization

Before you start cutting, you need to get organized. This step is key to a successful scrappy quilt.
- Sort Your Scraps:
- Color/Theme: Some quilters prefer to make a scrap quilt in a specific color palette (e.g., all blues and greens), while others prefer a completely random, “controlled chaos” look. Decide on your approach and sort accordingly.
- If your worried about your scrap quilt is looking too busy, introduce a consistent background fabric. Using one solid fabric (like a cream, white, or light gray) as the background will provide an essential “resting place” for the eye and help the beautiful chaos of your scraps pop even more. Low volume scraps can be perfect for this or use a solid fabric.
- Contrast: It’s important when choosing scraps that if you’re wanting your design to show, they need to have clear contrast. Using dark fabrics with a low volume background will help your design pop and not get lost in the scraps.
- Size: Sort your scraps into size piles: strips, squares/rectangles, and irregularly shaped pieces.
- Fiber Type: Ideally, stick to the same fiber type for a single quilt, especially 100% cotton, as different materials shrink and stretch at different rates when washed.
- Trim and Press: Press all your scraps flat to eliminate wrinkles and creases prior to cutting. Trim off any tiny threads or frayed edges.

My Star Check Quilt Pattern in orange, black, and low volume scraps for a Halloween vibe. Backed in super soft minky.
Step 2: Choose Your Block Design
The best block patterns for scrap quilts are those that thrive on variety and simple construction.
- Simple Squares (The Easiest): A grid of 4-inch or 6-inch finished squares is a fantastic starting point. It requires the least amount of tricky piecing and lets the variety of the fabrics be the star.
- Half-Square Triangles (HSTs): HSTs are incredibly versatile. You can make them from any pair of scraps and arrange them in countless patterns (chevron, pinwheel, flying geese).
- The Log Cabin Block: This classic block is perfect for using up long, narrow strips of varying widths. The contrasting light and dark strips create a beautiful, dynamic effect.
- Improv Piecing: Don’t worry about templates! Sew together small, random scraps until you create a larger, usable “fabric” piece, and then cut your desired shape from that.
That’s not to say however that you can’t make any quilt pattern into a scrappy one. If you can do a bit of math you can figure out how many of each piece is needed for each block or for the entire pattern and cut them from scraps.

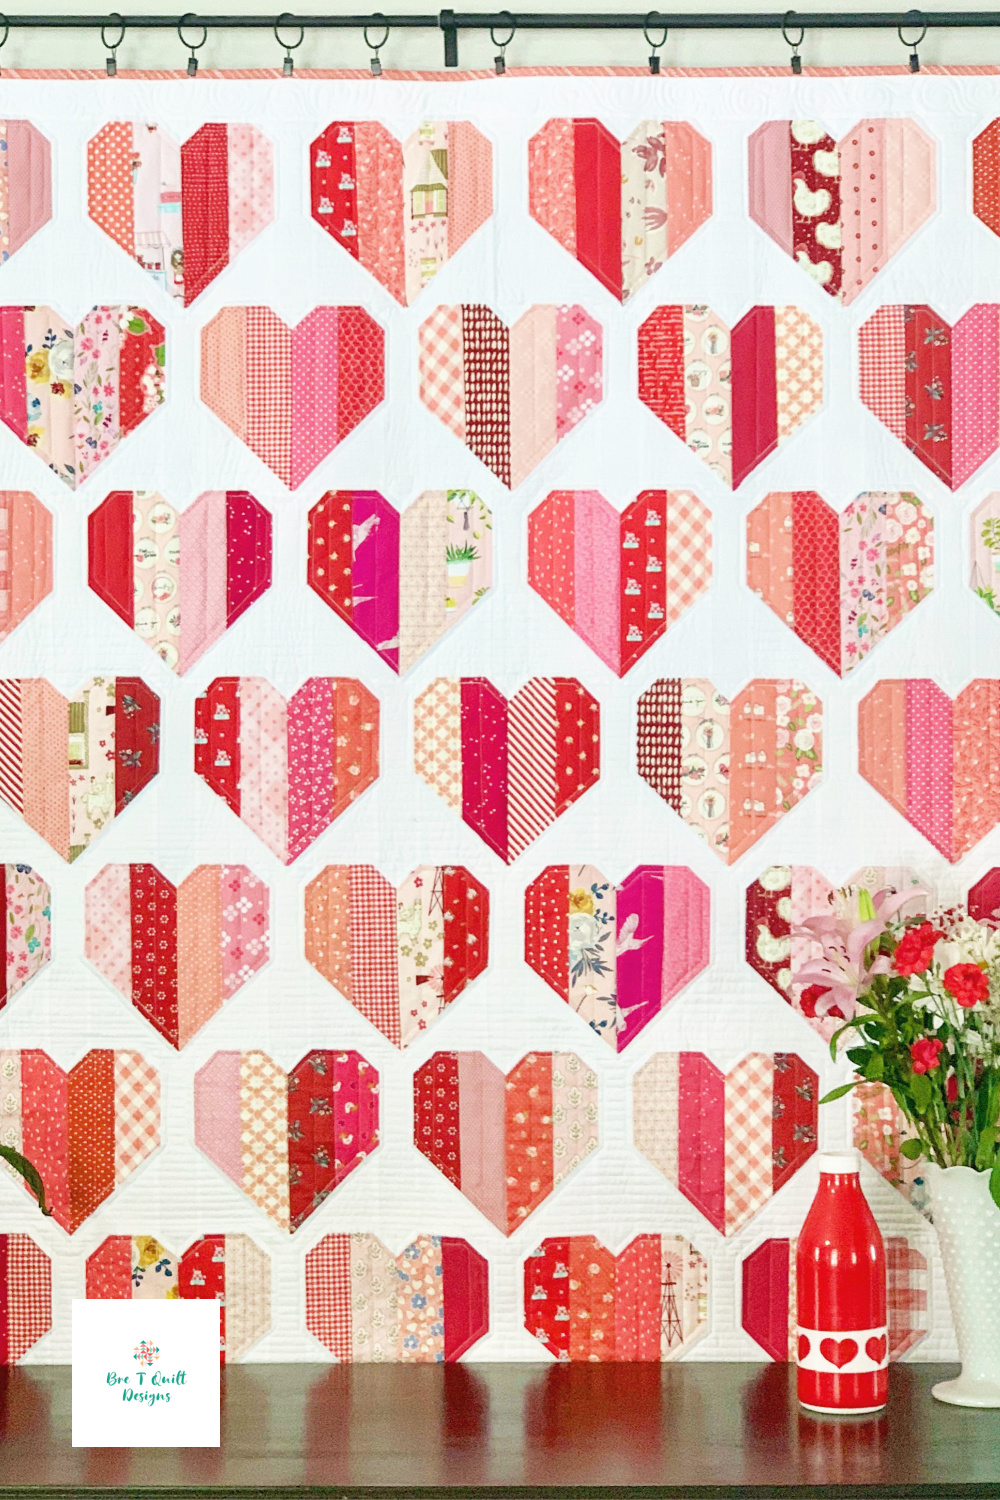
Infinite Hearts Quilt Pattern by Emily Dennis in pink scraps with a solid white background.
Step 3: Standardize and Cut
Consistency is crucial in quilting, even with a scrappy look. You need your pieces to match up smoothly.
- Establish a Standard: Decide on one or two consistent sizes for your main pieces (e.g., all squares must be 4.5″ inches, or all strips must be 2.5″ inches wide).
- Maximizing Scraps: When cutting, try to get the largest possible piece from each scrap. If you have a long piece, cut strips; if you have a wide piece, cut squares.
- Batches are Best: Cut pieces in batches. This will give you an idea of how many of each size/color you have before you start piecing. Cutting scrap quilts can be time intensive, but are worth the extra effort!

My Floral Hall Quilt Pattern in cohesive scraps using navy blues for the flowers, browns for the corners, and low volumes for the background. You can read more about this quilt here.
Step 4: Piecing Your Scrap Quilt Top
1. Chain Piecing
This is the fastest and most efficient way to sew scraps. Instead of cutting your thread after sewing two pieces together, feed the next two pieces right under the needle. You’ll end up with a “chain” of blocks you can clip apart later.
2. Pressing
Press your seams carefully as you go. For a scrappy quilt with lots of seams, it’s often best to press seams open or press to the dark side to reduce bulk and help the pieces fit together neatly.
3. Laying Out Your Design
Before you sew the blocks into rows, lay them all out on the floor or a design wall. This allows you to stand back and adjust the placement of colors and patterns to ensure the overall quilt is balanced.

My Rough Cut Diamonds Quilt Pattern in navy blues and low volume whites. Backed in leftover minky scraps shown below.
Step 5: Finishing Your Scrap Quilt
Once your scrap quilt top is assembled, treat it like any other quilt but I challenge you to go extra scrappy:
- Backing: Get creative and use scraps for the backing too! I’ve pieced left over strips of minky together with great success.
- Batting: Have left over pieces of batting? Go ahead and use those too! Sewing them with a slight overlap or butt up together and attach using a zig zag stitch.
- Basting: Layer your quilt top, batting, and backing, and secure them with safety pins or basting spray.
- Quilting: Stitch through all three layers. A simple grid or an organic, flowing meandering pattern works well for scrappy quilts because it doesn’t compete with the busy fabric design.
- Binding: Use up those final, slightly longer strips of fabric to create a scrappy binding! This is a charming way to frame your finished work.

Pro-Tip for Scrappy Quilting
Skip the quilter and quilt yourself. I find these quilts are usually so busy I can get away with doing my own quilting. I love a good wavy stitch to finish these quilts off.
Happy stitching, and enjoy watching your little fabric history come to life!
