
Free Baby Quilt Pattern To Download
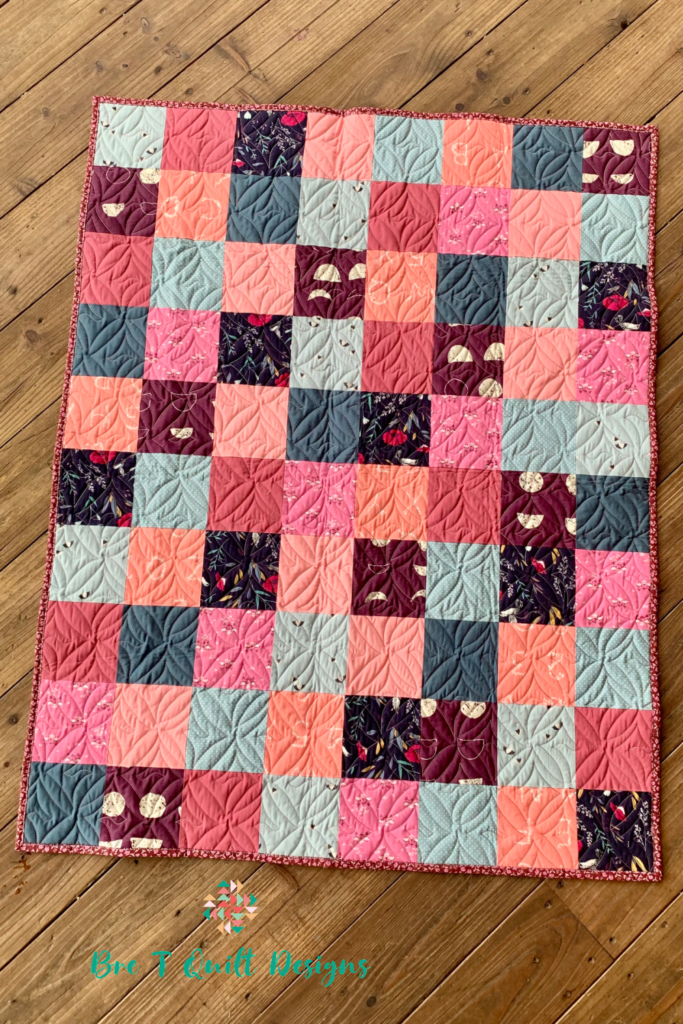
Today I want to introduce you to my free baby-sized patchwork quilt pattern!
This pattern is perfect to use to whip up a quick but beautiful baby shower gift!
If you are just starting out and consider yourself a beginning quilter, this is the perfect pattern for you!
Even for those of you that are beyond beginner status, there is just something timeless about a simple patchwork quilt.
In this blog post, I will give you tips and tricks to create your very own patchwork quilt. To receive the free pdf download, just sign up for my newsletter below to have my free patchwork quilt pattern delivered right to your inbox where you can print it for later use.
Not only will you receive access to this free quilt pattern, but you will receive access to my entire Resource Library filled with free printable resources and patterns!
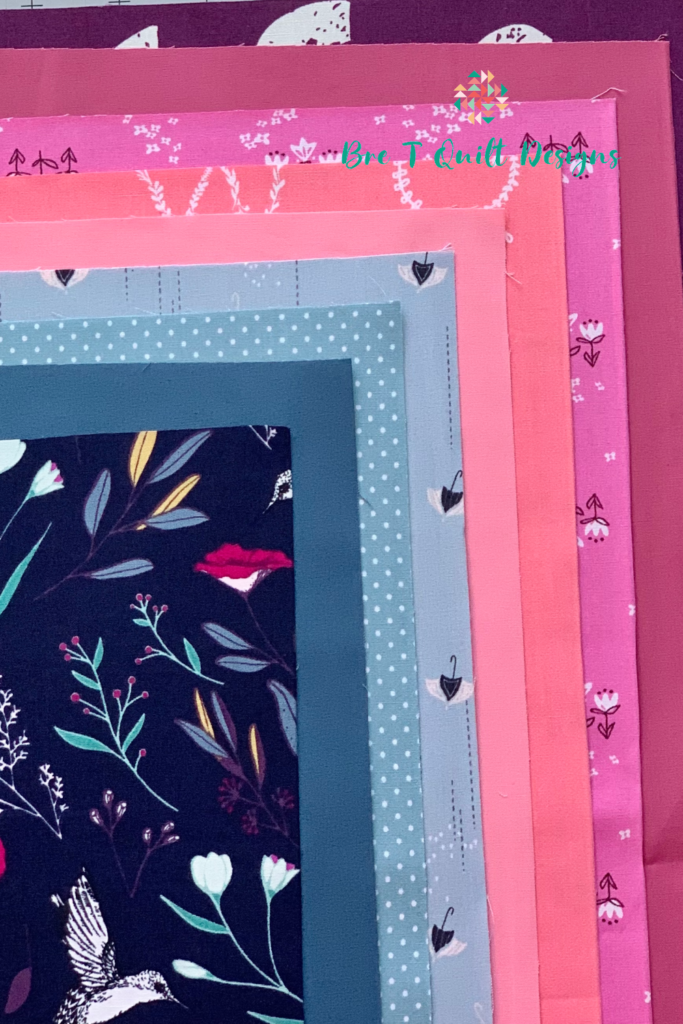
Free Baby Quilt Pattern Fabric Pull
This pattern is written up as a crib-sized quilt pattern. This particular quilt was made for a friend’s baby shower.
Materials Needed:
- (9)- Fat Quarter cuts of coordinating fabrics for quilt top
- (1.5) yards cut continuously for backing
- (.5) yard cut for binding
- Crib Sized Quilt Batting
- (1)- 6″ x 24″ straight quilting ruler
- (1)- 24″ x 36″ cutting mat
- (1)- Rotary Cutter
- Sewing Machine (This is what I sew on and love it! But there are so many options for many different price ranges!)
Cutting
The trick to a perfect patchwork quilt lies in the cutting. Accurate cutting is essential to getting all of your seams to line up nicely.
When I made my very first patchwork quilt back in 2017 I had no idea what I was doing. I traced fabric with a baby book and a pen and cut them out square by square. Needless to say none of my seams matched up, and that’s ok, but maybe I can help the next new quilter, and maybe even that quilter is you!
Start by pressing your fat quarters with an iron. Removing creases and wrinkles helps to ensure accurate cutting. For stubborn creases try Best Press.
This is where the long straight ruler comes into place. Line the edge of your fabric up with the lines on your cutting mat and cut your fabric down the width of the fabric every 5″. You can now take these strips and sub-cut them into the smaller 5″ required squares.
Sewing
With 9 different fabrics, I arranged my blocks in order every nine. I then sorted them into row by row stacks. You’ll sew these blocks into rows.
Once your rows are sewn together press each row in order. To get your seams to nest you’ll want to press your first row all to the left and then your second row all the right. The third row is all pressed to the left, and then the fourth row is all to the right, and so on.
Using a design wall or laying it out on your floor is the easiest way to keep track of your order.
You can then start sewing these rows together. This is where pins will come in handy. Lay your first two rows out right sides together and pin at every seam. with the seams pressed in opposite directions you will be able to butt them right up to each other. Pin both sides of the seam to ensure they do not move or stretch at all while you are sewing.

Here is a photo of my quilt top before it was quilted!
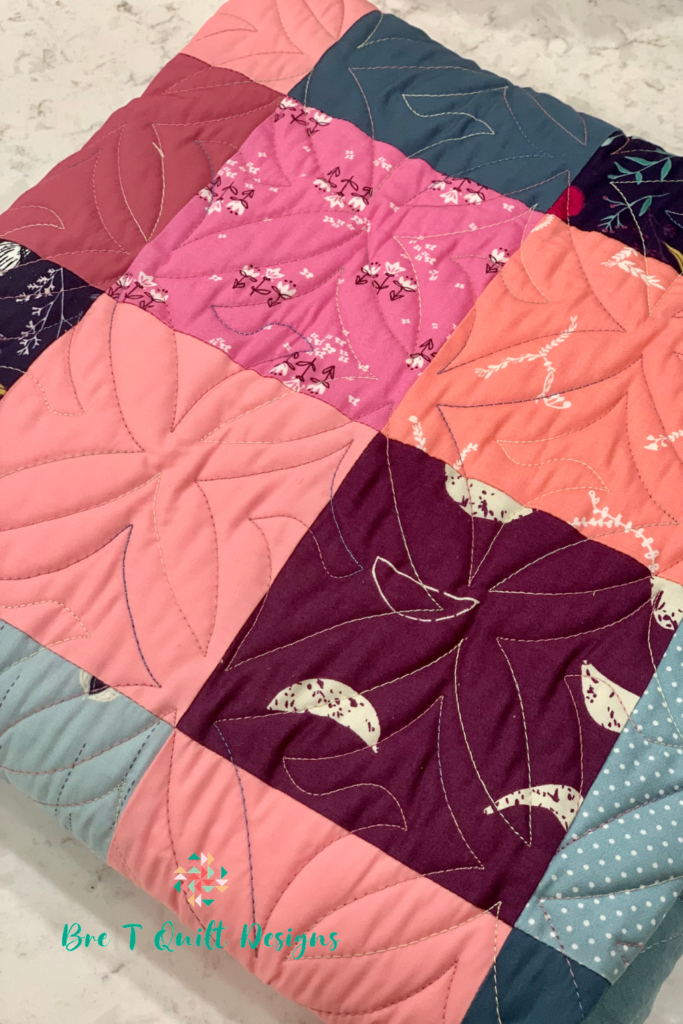
I paid a friend with a long arm to quilt this particular quilt but the very first patchwork quilt I made, I quilted with ties.
This is a great way to finish a beginner quilt, as quilting it yourself by machine can be a bit undertaking.
Binding
Cut your binding fabric into 2.5″ strips. Sew these strips together end to end. Use your iron to press this in half. You will now be ready to bind. There are so many great tutorials out there whether you prefer to bind by machine or by hand!

I hope you enjoyed this free baby quilt pattern!
Check out my other free patchwork patterns here!







The Comments
Dee
Nice quilt to use use smaller pieces of fabric stash.
bretquiltdesigns@gmail.com
> DeeYes! I’ve made a few of these as stash busters. Great for gifts and charity quilts.