Half-Square Triangles: 2, 4, and 8-at-a-Time (Free Cheat Sheet!)
Stop Doing the Math! The Easiest Ways to Make Half-Square Triangles
Let’s talk about Half-Square Triangles (HST). It’s basically the sourdough starter of the quilting world—it’s everywhere, everyone uses it, and it’s the foundation for almost everything we love to make.
But let’s be honest: if you’re still cutting out individual triangles and trying to sew them together on that stretchy bias edge, you’re working way too hard (and probably reaching for the seam ripper more than you’d like).
There’s a faster way! Actually, there are three faster ways. Depending on how many blocks you need, you can whip these out 2, 4, or even 8 at a time.

Which Method Should You Use?
- The 2-at-a-Time: This is my go-to when I’m working with a scrappy quilt and just need a couple of units to finish a block. It’s reliable and very accurate.
- The 4-at-a-Time: This is the “lazy quilter’s” favorite (and I say that with love!). Why? Because there is no marking involved. You just sew around the edge and cut. It’s magic.
- The 8-at-a-Time: I call this the “Magic 8.” If you’re making a quilt that needs 100 blue and white triangles, do not do them two by two. You’ll be there all year. Use this method to knock them out in bulk.

I Did the Math So You Don’t Have To
The only annoying thing about these methods? The math is different for every single one. You have to add $7/8″$ for one, or divide by something else for another… it’s enough to make your head spin when you just want to get sewing.
I got tired of googling “half-square triangles sizes” every time I started a new project, so I made a free HST cheat sheet for myself, and I’m sharing it with you!
It’s a one-page printable that tells you exactly what size squares to cut for all three methods to get the perfect finished block.
")
The Secret to Perfect Points: My Least Favorite (but Most Important) Step
I’m going to be totally honest with you: trimming is hands-down my least favorite part of quilting. It’s tedious, it creates a mountain of tiny fabric “snow” on the floor, and I’d much rather be at my machine actually sewing pieces together.
But here’s the truth I’ve learned the hard way: if you want those gorgeous, crisp points and a quilt top that actually lays flat, you cannot skip the trim.
The good news? While I can’t make the task disappear, I can tell you about the tools that make it go by a whole lot faster. If you’re going to do it, you might as well use the gadgets that make it feel like less of a chore.
")
")
1. The Bloc Loc Ruler
If you struggle with your ruler sliding around while you cut, the Bloc Loc is a total game-changer. It has a groove on the underside that “locks” right onto your seam. It keeps everything steady so you can trim all four sides in seconds without the ruler budging. It’s basically training wheels for perfect blocks.
2. The Clearly Perfect Slotted Trimmer
This one is for the speed demons. The Clearly Perfect slotted ruler is a bit of a wizard—it lets you trim your Half-square triangles before you even press them open. It has little slots for your rotary cutter that align with your seam line. It saves so much time and a massive amount of back-and-forth at the ironing board.
3. Quilter’s Select Squares
Sometimes you just want a classic, high-quality square-up ruler. I love the Quilter’s Select squares because they have a special non-slip coating on the back. When you apply even a little bit of pressure, that thing is glued to the fabric. It makes squaring up to the perfect size feel much more precise and way less slippery.
")
How to Use Your New Half-Square Triangles Cheat Sheet
I designed this cheat sheet to be the “easy button” for your sewing room. I keep a copy taped to the wall right next to my machine so I don’t have to go hunting for my phone with thread-covered fingers every time I start a new project.
Here’s how to make it work for you:
- Pick Your Method: Decide if you want to make them 2, 4, or 8-at-a-time based on your pattern needs.
- Find Your “Finished” Size: Look at the column for the size you want your triangle to be after it’s sewn into the quilt.
- Cut Your Squares: The chart will tell you exactly what size fabric squares to start with. (Remember: I’ve added a tiny bit of “wiggle room” to these numbers so you have space to trim!).
- Follow the Diagrams: If you forget where to sew or cut, just glance at the little illustrations on the sheet to get back on track.

Wrap It Up and Get Sewing!
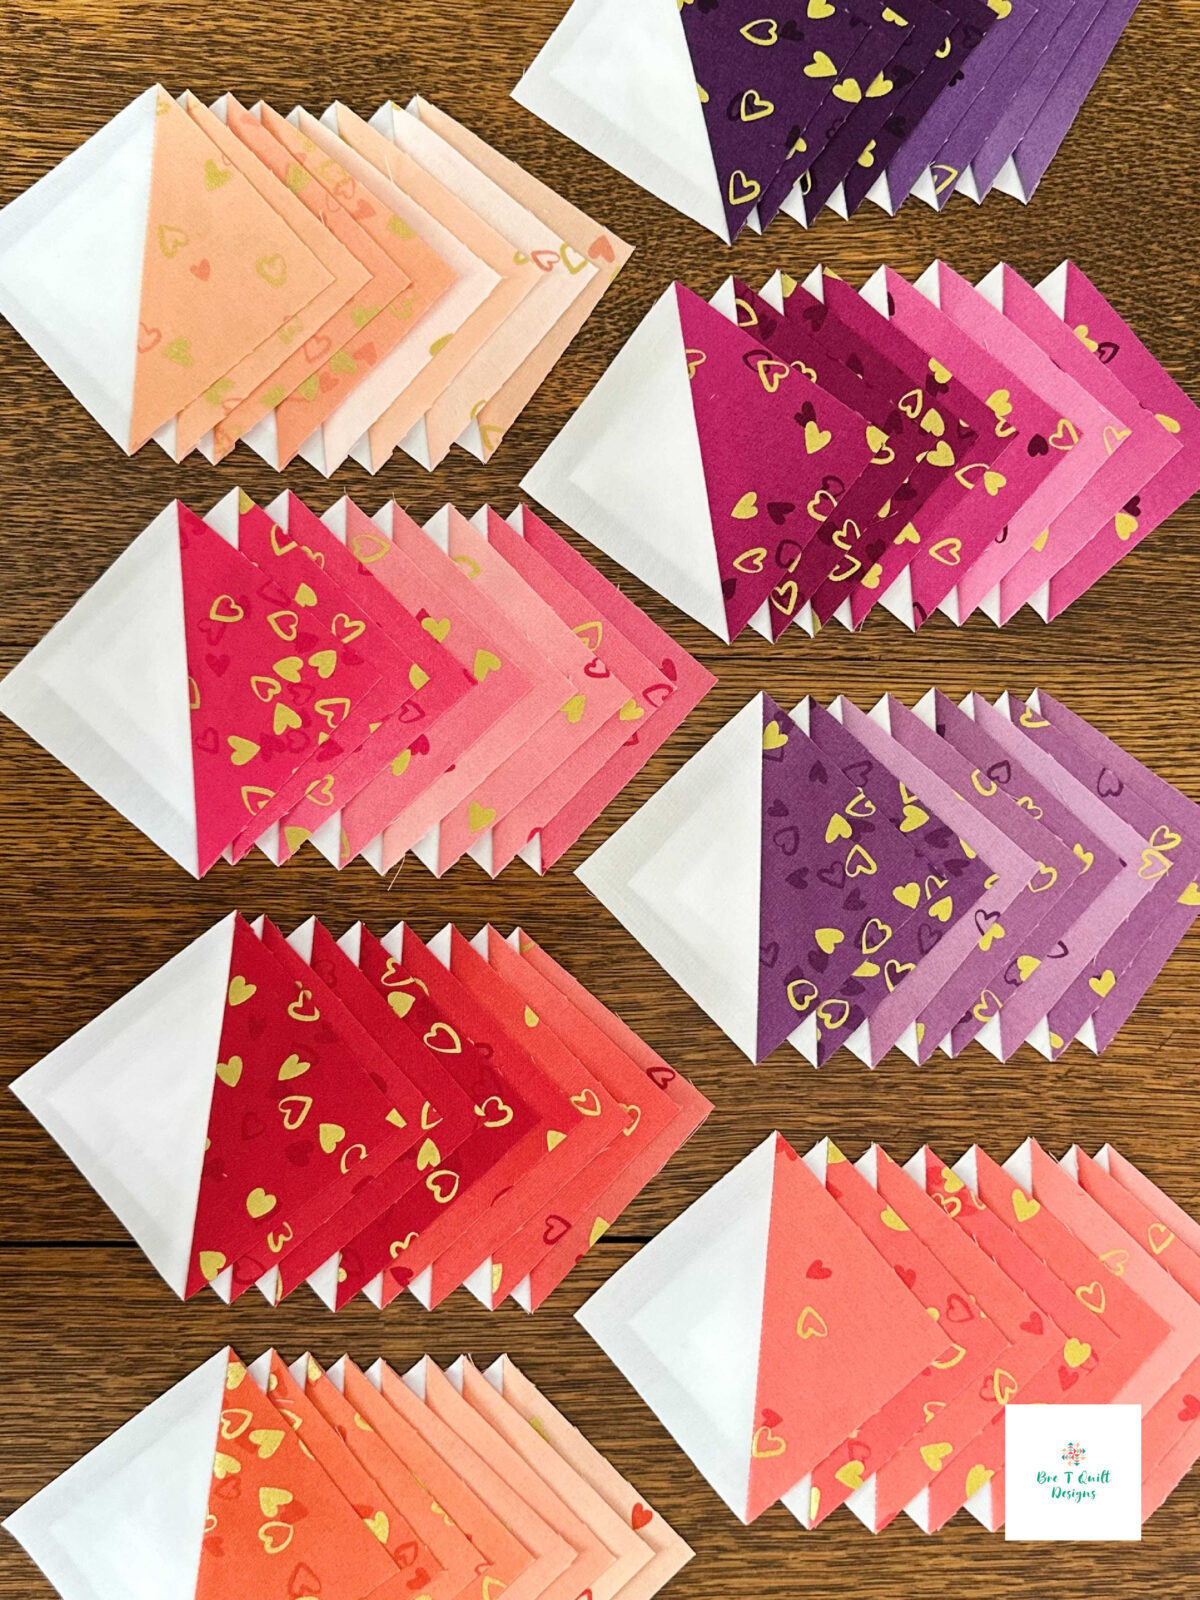
Whether your left with cut offs like these were from a recent Love Letters quilt or plan on making a pile of them from yardage, Half-square triangles don’t have to be a headache. Once you find the method you love and the tool that makes trimming feel like less of a drag, a whole world of quilt designs opens up.
I can’t wait to see what you make with these! Whether you’re knocking out a quick baby quilt or tackling a king-sized masterpiece, I hope this cheat sheet saves you some time (and some sanity).
Happy quilting!
P.S. If you’re looking to make a scrap quilt with your HST’s check out this post about making the perfect scrap quilt!
The Comments
Cheryl
Thank you so much! And yes…trimming is critical. My points used to never meet and I think it is because I was not trimming!
Andrea
Thank you for the “cheat sheet.”
Admiring your quilt patterns:-)
bretquiltdesigns@gmail.com
> AndreaYou are so welcome!